Introduction
The DC Envelope printer app allows you to use either the default set of fields for entering address street information - Address 1, Address 2, City, State/Province, and Zip Code - or a single multiline field, which can contain more lines of data (as many as can fit onto an envelope). The single multiline field can also support varied types of addresses (e.g. UK addresses).
WARNING: If you are new to using the DC Envelope Printer, or / and you have no return address or address records saved, you can use the following instructions to switch between using standard fields, as well as the multiline address field, to see which suits you. However, if you have an appreciable amount of data currently in the database, switching from standard fields to the multiline address field, will result in your data being automatically combined into the multiline address field, similar to the way your data is combined and deposited onto the envelope image on the main page of the app, when you use the Apply button on the Configure Envelope page. Your data will be fine, but you will not be able to go back to using standard address fields, without incurring loss of data. If you try to move from using a single multiline address field to using standard fields, only the first line of your street address data will be saved. The rest of your street address data will be discarded.
Turning On the Multiline Address Textbox Feature
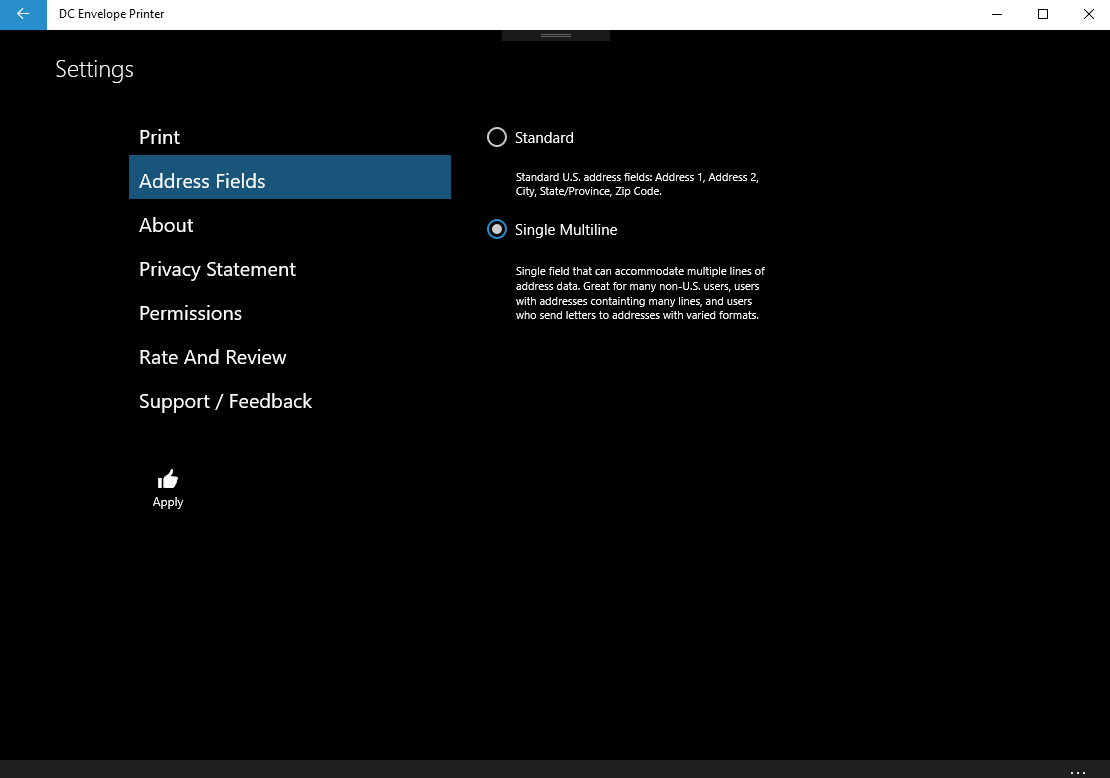
To access the multiline address feature, from the main page or bulk mail main page of the DC Envelope Printer app, click on the Settings button on the bottom menu bar, then click on the Address Fields button, on the left of the resulting page. Click on the radio button labelled Single Multiline, then click on the Apply button, on the left of the page, to the use the multiline address feature. (If you are currently using the multiline feature, and would like to use standard address fields, click on the radio button labelled Standard, then click on the Apply button, on the left of the page.)
<< Tutorial Home Page
<< Basic Application Section Home Page
<< Bulk Mail Section Home Page
The DC Envelope printer app allows you to use either the default set of fields for entering address street information - Address 1, Address 2, City, State/Province, and Zip Code - or a single multiline field, which can contain more lines of data (as many as can fit onto an envelope). The single multiline field can also support varied types of addresses (e.g. UK addresses).
WARNING: If you are new to using the DC Envelope Printer, or / and you have no return address or address records saved, you can use the following instructions to switch between using standard fields, as well as the multiline address field, to see which suits you. However, if you have an appreciable amount of data currently in the database, switching from standard fields to the multiline address field, will result in your data being automatically combined into the multiline address field, similar to the way your data is combined and deposited onto the envelope image on the main page of the app, when you use the Apply button on the Configure Envelope page. Your data will be fine, but you will not be able to go back to using standard address fields, without incurring loss of data. If you try to move from using a single multiline address field to using standard fields, only the first line of your street address data will be saved. The rest of your street address data will be discarded.
Turning On the Multiline Address Textbox Feature
To access the multiline address feature, from the main page or bulk mail main page of the DC Envelope Printer app, click on the Settings button on the bottom menu bar, then click on the Address Fields button, on the left of the resulting page. Click on the radio button labelled Single Multiline, then click on the Apply button, on the left of the page, to the use the multiline address feature. (If you are currently using the multiline feature, and would like to use standard address fields, click on the radio button labelled Standard, then click on the Apply button, on the left of the page.)
<< Tutorial Home Page
<< Basic Application Section Home Page
<< Bulk Mail Section Home Page